
Last updated October 17, 2026
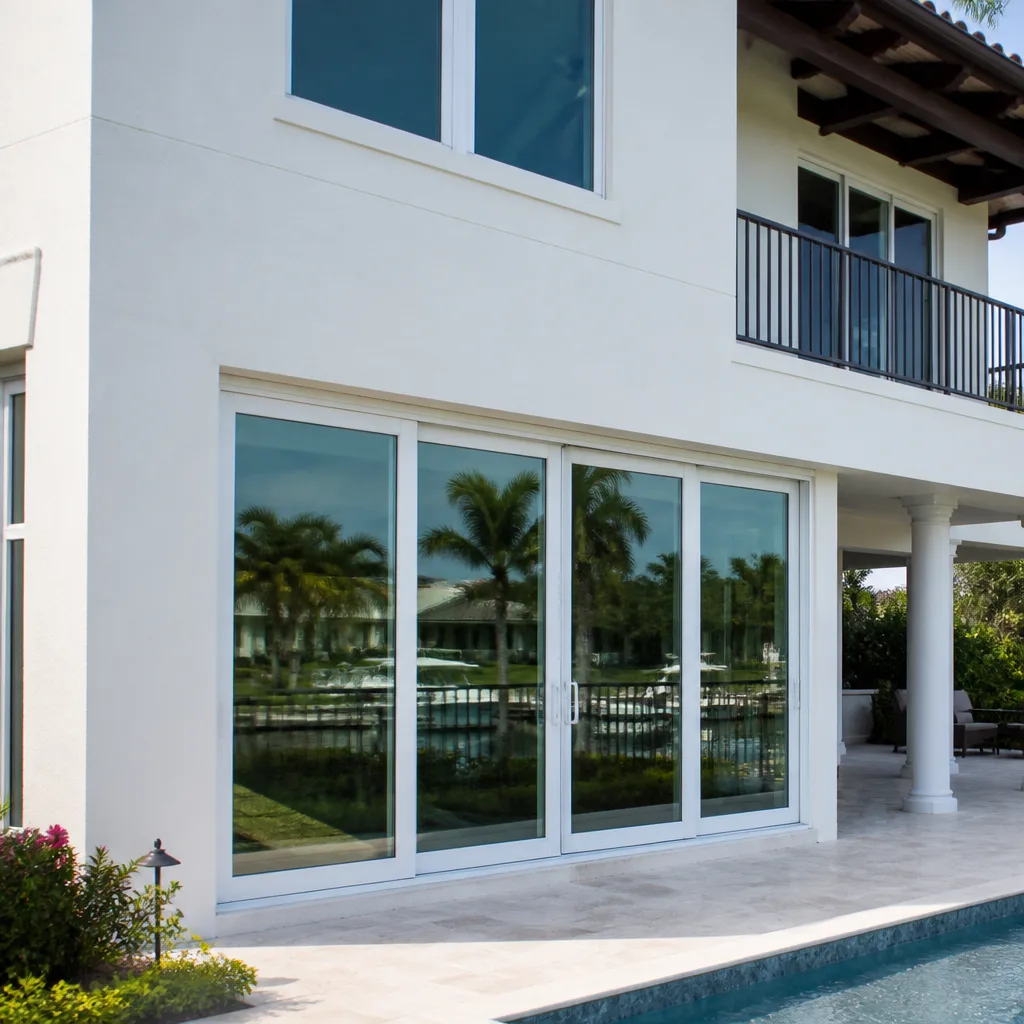
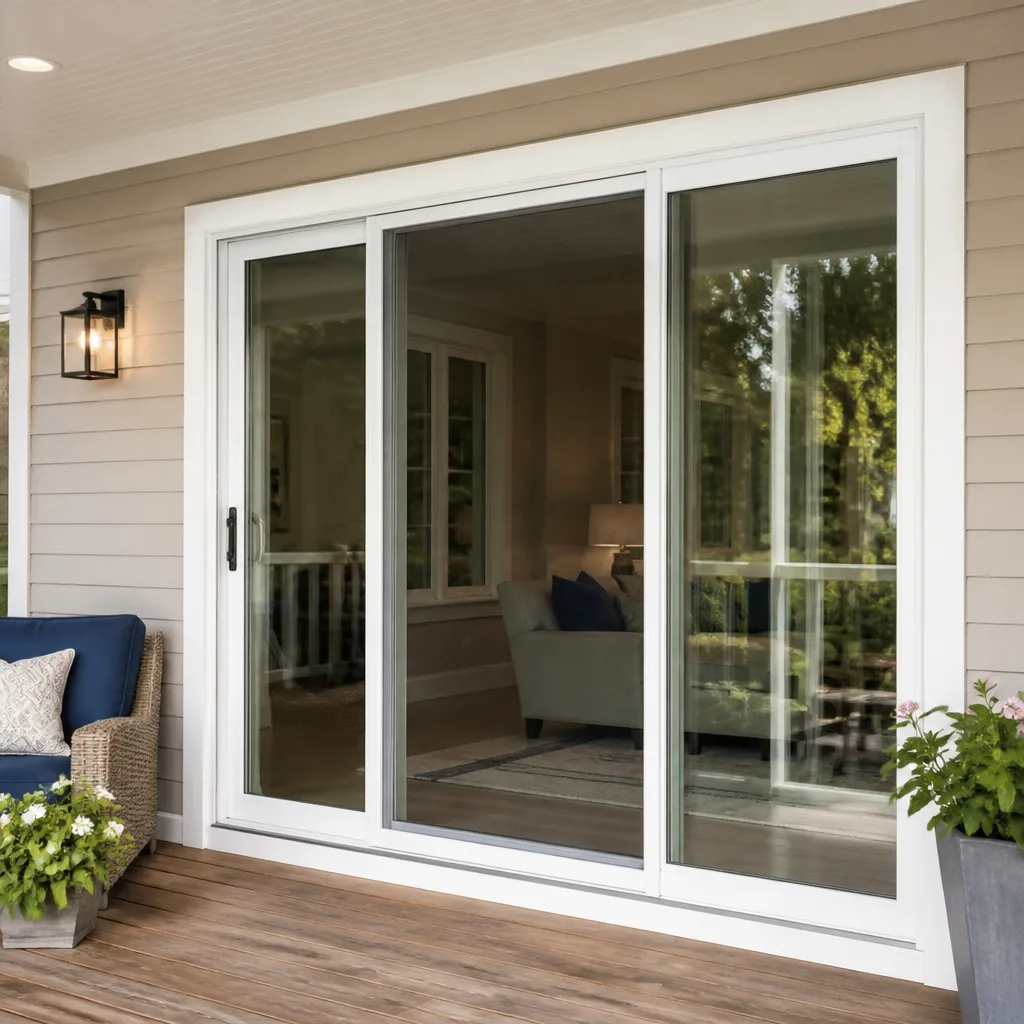 Sliding glass doors
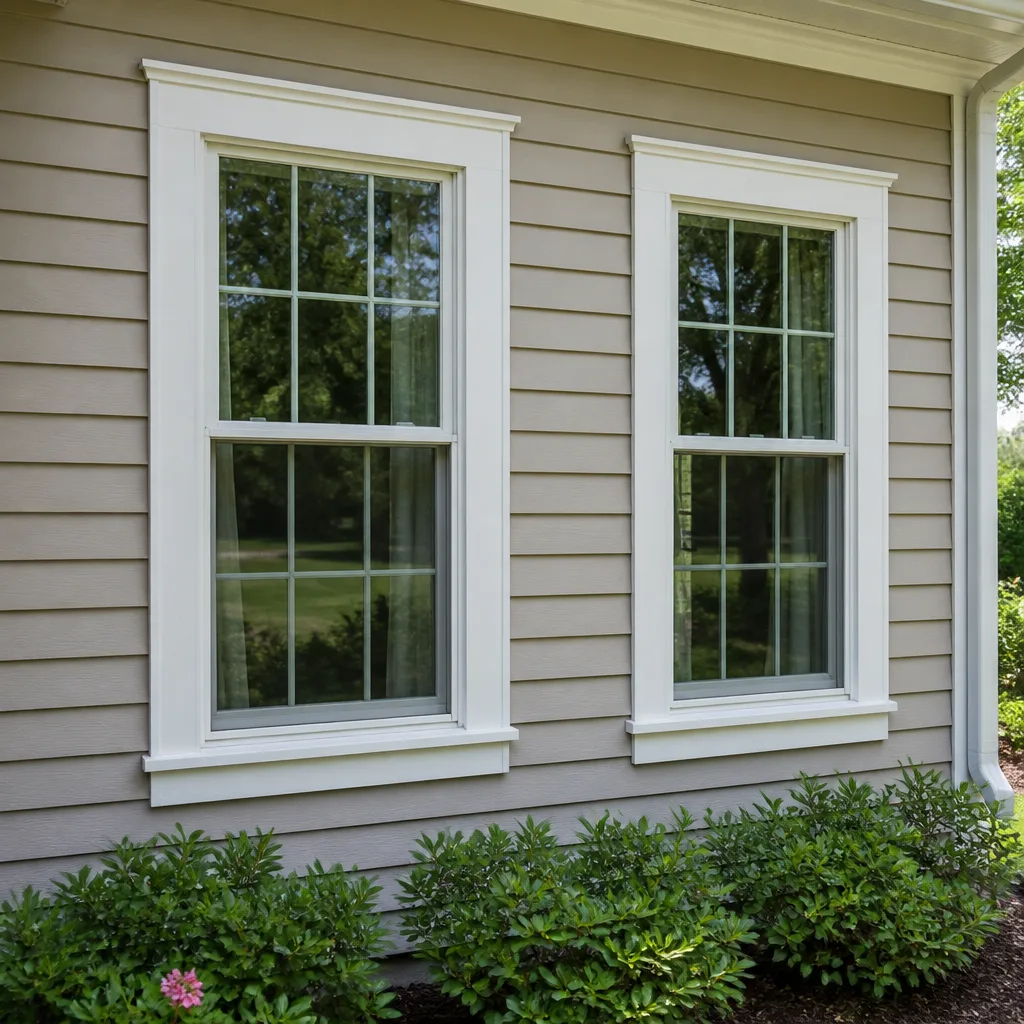 Double hung
 Horizontal roller
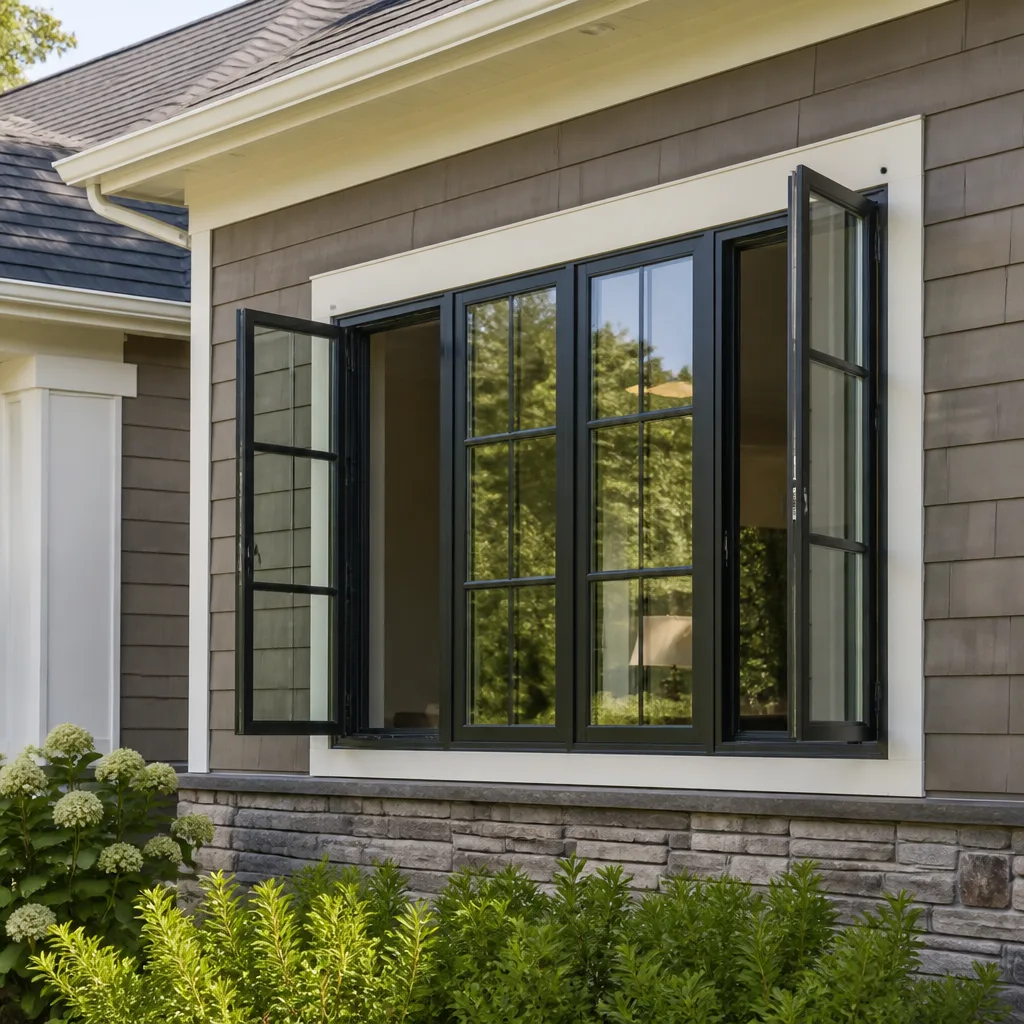 Casement
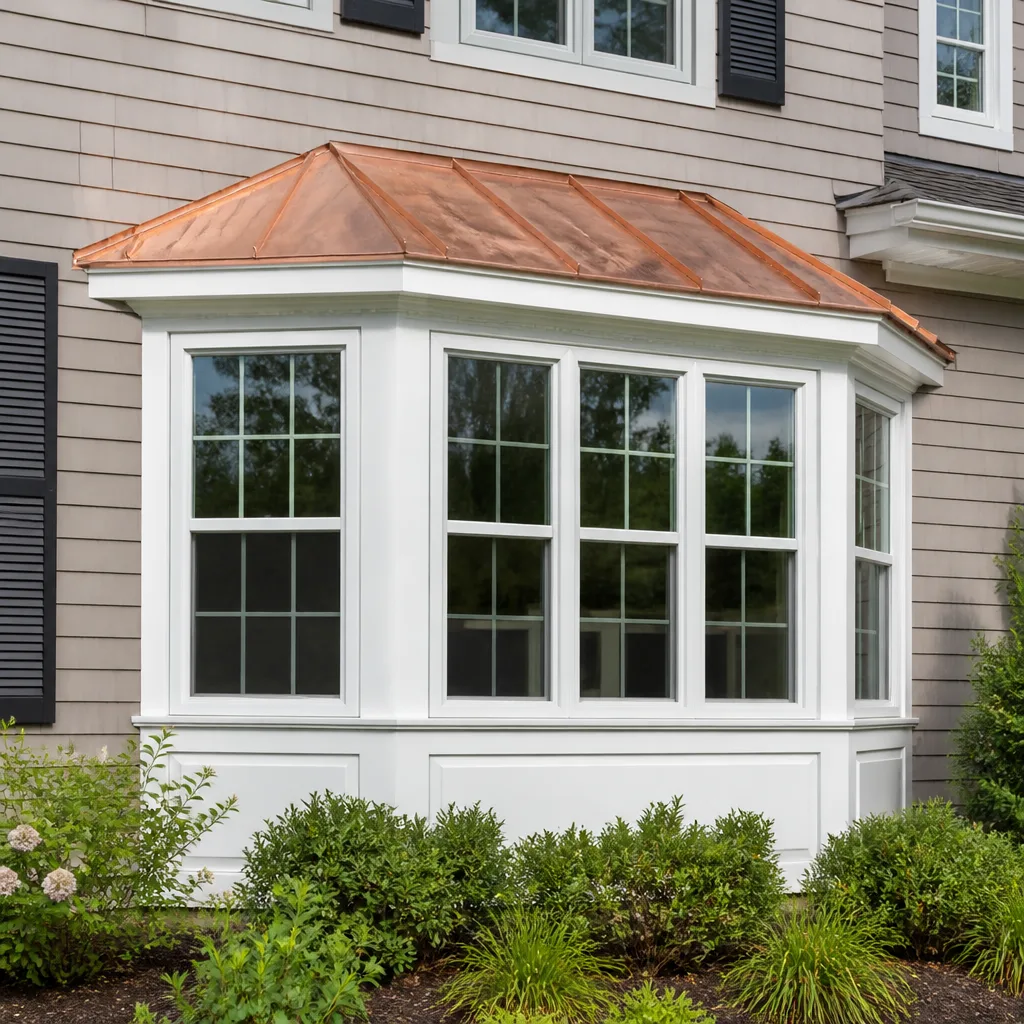 Bay & bow
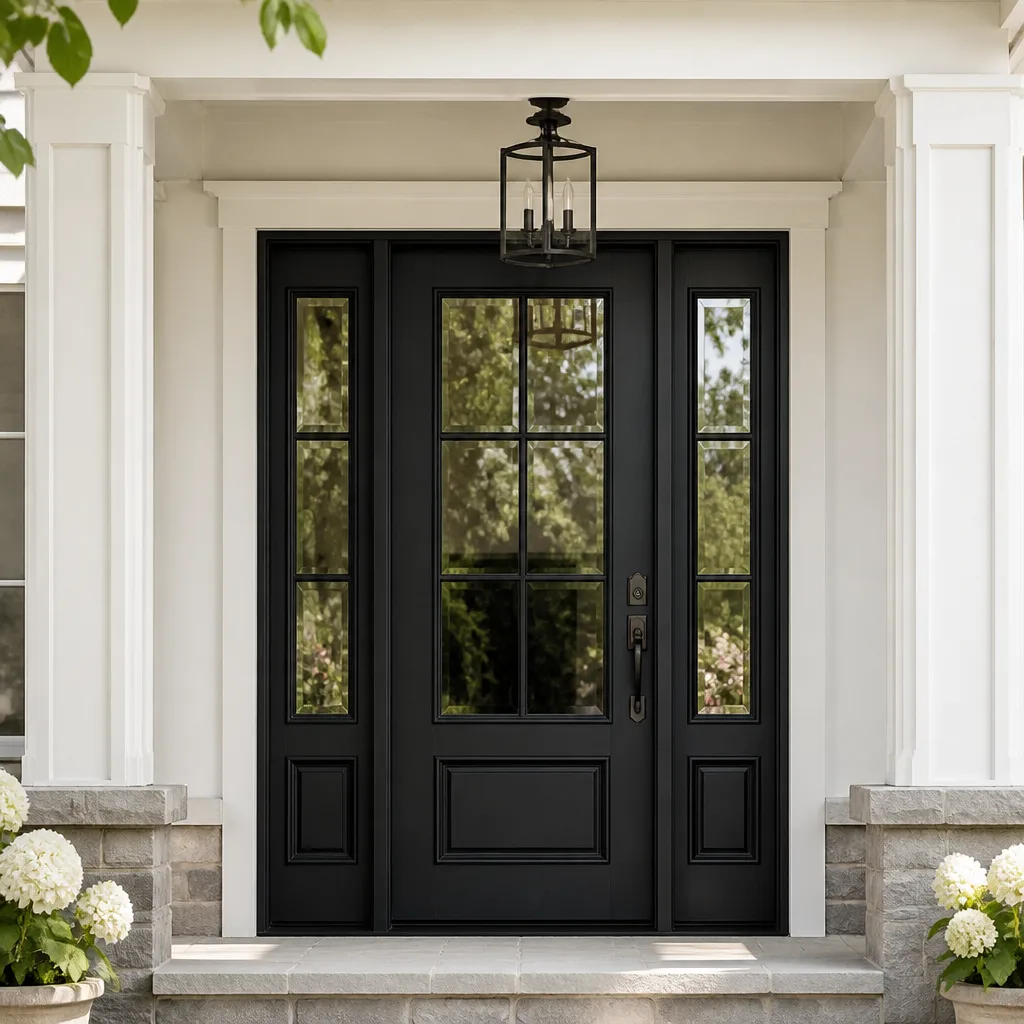 Entry doors
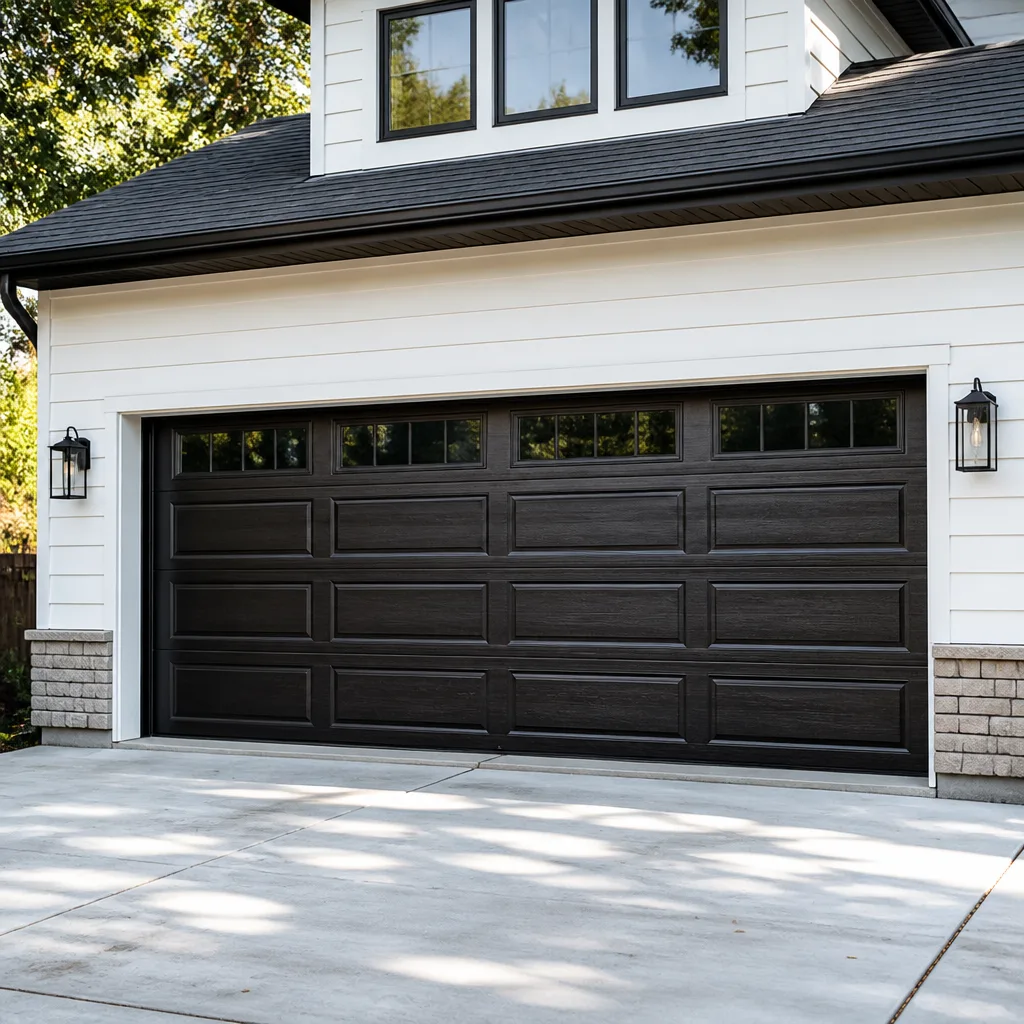 Impact garage doors
 PGT
PGT CGI
CGIFree in-home measure and quote - PGT, CGI and CWS impact lines compared on your actual openings, style by style
Get your free estimateDIY vs Professional Windows & Doors: The Pasadena Homeowner’s Decision Guide
Here’s a number most DIY guides won’t show you: roughly one in five window replacements we get called to inspect in Pasadena after a homeowner attempted it themselves fails to pass inspection on the first visit, not because the window looks wrong, but because the permit paperwork was never pulled or the Title 24 documentation was incomplete. The physical work often looks fine. It is the legal layer underneath that creates the problem. This guide walks through what actually separates a weekend window swap from a compliant, warranty-protected installation in Pasadena, and where the line sits between work worth doing yourself and work that costs more to fix than it ever saved. For more on making that call, see our How to Hire a Windows & Doors Contractor in Pasadena: A Step-by-Step Guide.
Styles & brands we work with
Quick Answer
For most Pasadena homeowners, replacing a full window or exterior door should be handled by a licensed professional, not because the labor is impossible to learn, but because California permit law, Title 24 energy documentation, and manufacturer warranty terms are written around licensed installation. DIY is genuinely reasonable for a narrow band of work: interior storm panel additions, sliding screen door replacement, and basic hardware swaps. For everything else, the risk is not the installation itself. It is the liability and warranty exposure you carry after.
Table of Contents
- The Permit Problem: When California’s Owner-Builder Exemption Applies to Window Replacement
- How Manufacturer Warranties Treat DIY Installation Differently
- Why Pasadena Is Harder Than Most Markets: Title 24, Stucco, and Historic Overlay
- Real Cost Comparison: DIY vs Professional with Permit Risk Factored In
- Where DIY Makes Sense: The Narrow Category That Is Genuinely Reasonable
- What a Compliant Window Replacement Actually Involves in Pasadena
- Common Mistakes to Avoid
- When to Call a Professional
- Frequently Asked Questions
- The Bottom Line
Key Takeaways
- California law requires a licensed contractor to pull the permit on most window replacements, and the owner-builder exemption is narrower than most people assume.
- Several major manufacturers void some or all warranty coverage when the installer is not a licensed contractor.
- Pasadena’s Title 24 documentation requirements, stucco substrate, and historic overlay review create three layers of compliance most DIY guides never mention.
- The realistic all-in cost gap between DIY and professional installation shrinks dramatically once permit fees, rework, and energy-loss penalties are included.
- DIY is reasonable for interior storm panels, screen door swaps, and hardware changes, and not much beyond that.
The Permit Problem: When California’s Owner-Builder Exemption Applies to Window Replacement
You can install a window perfectly plumb, level, and weathertight and still void its manufacturer warranty, fail a building inspection, and leave a cloud on your title disclosure, all because California requires a licensed contractor to pull the permit on a replacement that doesn’t qualify for the owner-builder exemption. That is the core of the DIY window question in Pasadena, and it is the part that gets skipped in almost every online tutorial.
California Business and Professions Code Section 7044 contains the owner-builder exemption. It allows a homeowner to act as their own contractor on their own residence. Here is the part most guides don’t tell you: the exemption is intended for work that is not part of a broader construction project, and the homeowner must genuinely intend to live in the home, not flip it. If you reside on the property, you can technically pull a permit for your own window replacement under this exemption. But the moment you hire a handyman without a contractor’s license to do the labor on that same permit, you are no longer acting as an owner-builder. You are acting as a general contractor employing an unlicensed worker. That triggers a separate set of labor enforcement and insurance exposure issues.
What does this mean in practice? Here is the sequence of liability that unfolds in Pasadena:
- You pull the permit as owner-builder. You are now legally responsible for every code compliance item on the inspection checklist. When the inspector red-tags the rough-in or the final, the correction is on you, not on a warranty-backed installer.
- You complete the work and sell the house. California’s Real Estate Transfer Disclosure Statement requires you to disclose unpermitted or owner-built work on the TDS. If the buyer’s lender flags it, financing can stall. You carry this disclosure obligation for the entire time you own the home.
- Something fails later. The manufacturer asks who installed the window. If the answer is “the homeowner,” certain brands will deny the warranty claim. We cover the specifics in the next section.
In Pasadena specifically, the City’s building division cross-references Title 24 energy documentation with the permit. A window replacement triggers the California Energy Commission’s requirements for certified fenestration products, and the compliance document, called a CF-1R, is filed by the contractor or the designer who takes responsibility for it. If you are an owner-builder, you are the responsible party on that document. Most homeowners don’t know what a CF-1R is until it’s requested.
The point is not that owner-builder permits never work. They can work for someone who has researched the process thoroughly and is willing to stand behind the disclosure for years. The point is that the legal threshold is higher than the YouTube comments suggest.
How Manufacturer Warranties Treat DIY Installation Differently
Every manufacturer writes its warranty with installation as a condition. Not a suggestion. A condition. The precise language varies by brand, but the pattern is consistent: when a window or door fails, the first question is who installed it and whether they held the credentials the warranty requires.
We carry eight brands at Lightwell Windows Pasadena home, and the installation requirements across them are not uniform. Here is how the landscape breaks down:
- Therma-Tru, which manufactures entry door systems, requires installation by a licensed professional for the warranty on the door slab and the pre-hung frame assembly. A homeowner-installed Therma-Tru door that delaminates or warps will typically get a dealer referral, not a replacement approval.
- ECO Window Systems and Mr-Glass, both popular impact-rated and high-efficiency lines, specify that installation must follow their written installation instructions. Their warranty language ties coverage to “proper installation,” and in practice, that means a licensed contractor with documentation. A homeowner can follow the installation manual perfectly and still face a coverage dispute because “proper” is a legal term in the warranty, not a compliment on your caulking.
- ViewLux products carry a transferable warranty, but transferability changes the dynamic. If you install it yourself and sell the house, the next owner inherits a warranty claim where the installer was never credentialed. What looked like savings becomes a disclosure item at resale.
The warranty pattern matters more than the specific language. Homeowners tend to think of a warranty as protection against a defective product. Manufacturers think of it as protection against their own defect liability, and a non-credentialed installation is their first line of defense in denying the claim.
In our experience, the warranty question also intersects with a practical one: when a professionally installed window fails, the installer carries some responsibility for the diagnosis, the removal, and often the replacement logistics. When a homeowner-installed window fails, the homeowner is the logistics coordinator, the negotiator, and sometimes the person holding a rejected claim from a manufacturer who has already found their reason to say no.
Why Pasadena Is Harder Than Most Markets: Title 24, Stucco, and Historic Overlay
Every city in California falls under Title 24 energy code, but Pasadena enforces it with a particular rigor, and the local building stock adds two complications that generic DIY guides never address.
1. Title 24 documentation is not optional paperwork in Pasadena. A replacement window must meet the prescriptive or performance requirements for U-factor and Solar Heat Gain Coefficient (SHGC) based on Pasadena’s climate zone (zone 9 for most of the city). The CF-1R form certifies that the specific product you installed matches the compliance calculation submitted with the permit. If you install a window that doesn’t meet the SHGC target for your elevation, the long-term effect is not a failed inspection alone. It is higher cooling load, because Pasadena summers run hot and dry, with afternoon sun hammering west-facing glass. A window that passes the visual inspection but misses the energy compliance target costs you money every warm month for the life of the window. For a practical framework on staying ahead of these issues, see our Seasonal Windows & Doors Care for Pasadena: Year-Round Homeowner’s Guide.
2. Stucco substrate changes the installation math. A large share of Pasadena homes, especially those built between the 1920s and the 1960s, have stucco exterior walls. Replacing a window in stucco is not a “remove the frame and drop in a new one” operation. It requires cutting back the stucco cleanly, managing the break line so the patch blends, and installing the new flashing in a way that actually sheds water. Done incorrectly, the first sign of failure is not a draft. It’s water staining on the interior drywall months later, after the first heavy rain. In Pasadena’s Mediterranean climate, the rainy season is brief but intense, and a flashing error waits until January to announce itself.
3. Historic overlay review is real and it is strict. Pasadena has several historic districts and landmark overlay zones, and the Cultural Heritage Commission reviews exterior changes. If your home falls within one of these zones, even a like-for-like window replacement may require a Certificate of Appropriateness before a building permit is issued. The review looks at material, profile, sightlines, and muntin pattern. A homeowner who replaces a wood window with a vinyl insert in a contributing historic home can face a stop-work order and a correction requirement. That is not a project that ends with a weekend of satisfaction. It ends with a hearing.
These three factors compound. In a newer stucco home outside the historic zones, the DIY path is still permit-heavy but at least predictable. In a 1930s bungalow in a historic district, you’re stacking Title 24 documentation, stucco flashing work, and overlay review on top of each other. That is the exact scenario where a professional installation with all three layers managed under one roof is not a luxury. It is the cheaper option.
Real Cost Comparison: DIY vs Professional with Permit Risk Factored In
Most DIY window cost comparisons start and end with the price of the window unit and the labor you’re not paying. Here is the honest math in Pasadena.
Typical window replacement cost, Pasadena market, as of 2025:
| Cost Item | DIY Owner-Builder | Licensed Professional |
|---|---|---|
| Window unit (mid-range vinyl, standard size) | $350 – $650 | $350 – $650 |
| Building permit (Pasadena, single opening) | $150 – $400 | $150 – $400 |
| Title 24 CF-1R documentation | $75 – $250 (if you can find a consultant) | Included in project price |
| Installation labor and project management | $0 (your time, approximately 1 – 2 full days per opening for a first-timer) | $250 – $600 per opening |
| Flashing, sealant, fasteners, trim | $40 – $120 | Included |
| Dump fees for old window/haul-away | $30 – $80 | Included |
| All-in, single opening | $645 – $1,500 | $750 – $1,650 |
The gap between the two columns is narrow, and that is before we talk about what happens when things don’t go perfectly. A failed inspection costs $100 – $200 per re-inspection visit in Pasadena. Reworking a stucco patch that wasn’t properly flashed can run $500 – $1,500, and that’s if the water damage is caught early, before drywall and insulation are involved. Most importantly, the SHGC compliance piece is invisible. A window that doesn’t meet the energy code costs nothing on install day, then adds $20 – $80 per year in extra cooling cost on a west-facing bedroom for the next 15 years.
Now consider the time cost. A first-time window replacement, done carefully, takes a full weekend per opening, and that assumes no surprises: no rotted framing, no stucco that crumbles when cut, no discovery that the rough opening is out of square. Pasadena homes carry a century of deferred surprises in their walls. In our experience, the first surprise appears somewhere around hour three.
For Window Replacement in Pasadena, the all-in professional price includes a permit, the Title 24 documentation, the flashing work, the haul-away, and a warranty that names a licensed installer. The DIY price includes your weekend, your liability, and your name on the CF-1R.
Where DIY Makes Sense: The Narrow Category That Is Genuinely Reasonable
None of this should suggest that every window or door project in Pasadena requires a contractor. There is a narrow band of work where DIY is the right call, and we tell homeowners this directly when they call.
Reasonable DIY candidates:
- Interior storm panel additions: If you’re adding a magnetic or compression-fit interior storm panel over an existing window for sound or draft reduction, no permit is required and no structural change is made. This is the one window-adjacent project where the DIY savings are real and the liability is near zero.
- Sliding screen door replacement: A screen door is not a fenestration product under the building code. Replacing a bent or torn sliding screen door is a hardware swap, not a building alteration. No permit, no warranty issue, no Title 24.
- Basic hardware swaps: Replacing a lock set, a handle, a hinge, or a sash lock on an existing door or window. These are surface-mounted or through-bolted changes that don’t affect the envelope, the structure, or the energy compliance.
- Weatherstripping and exterior caulking (non-flashing): Adding or replacing weatherstripping, or recaulking the interior and exterior joints around a window that is otherwise sound. This is maintenance, not replacement.
Where DIY creates downstream liability:
- Full window replacement: Permit required, Title 24 documentation required, warranty exposure created. Not a maintenance task.
- Exterior door replacement, especially pre-hung: A door is a fenestration product and the threshold flashing and sill pan details are where water intrusion happens quietly for years before anyone notices. A door that leaks at the sill doesn’t show up as an obvious failure. It shows up as a rotted subfloor at a remodel, five years later.
- Any work in a historic overlay zone: If the Cultural Heritage Commission reviews the change, the process is not DIY-compatible. The paperwork alone requires architectural drawings, material samples, and a hearing.
- Impact-rated window installation (PGT, CGI, CWS, ES Windows): These products carry hurricane-protection ratings, and the rating only means something when the anchoring system is installed to the manufacturer’s tested specification. A homeowner-installed impact window that pops out of its opening in a severe wind event is a failure of the anchoring, not the window. The manufacturer’s testing data assumes credentialed installation.
The line is clear: when the work touches the building envelope, the permit path, the energy documentation, or the warranty terms, it is a professional installation. When it touches only the surface or the hardware, it is a weekend project.
What a Compliant Window Replacement Actually Involves in Pasadena
Most DIY guides show the physical installation only: remove the old window, set the new one, shim it, screw it, caulk it. Here is what a compliant Pasadena window replacement actually includes, start to finish, so you can see the full sequence. You can also download our Window Replacement Maintenance Checklist for Pasadena Homeowners to track each step.
Step 1: Determine the permit path and energy compliance. Confirm whether the home is in a historic district. Confirm climate zone 9 requirements. Select a window with the correct U-factor and SHGC for the elevation and orientation. Run the Title 24 calculation, or have a contractor run it, before ordering anything.
Step 2: Pull the permit. In Pasadena, the building permit application includes the fenestration product details and the energy compliance document. The permit is issued before work begins, not after.
Step 3: Protect the interior. This is where the C.A.R.E. values that Window Installation in Pasadena crews follow make the biggest difference on the day: shoe covers and drop cloths on every visit, so dust and broken stucco don’t travel through the house. Furniture is covered before the first cut. Pets are kept out of the work zone. The work is scheduled around the family’s quiet hours when possible, because a kid’s nap schedule doesn’t pause for a window job.
Step 4: Remove the old window and inspect the opening. In stucco homes, this involves cutting back the exterior finish carefully, then inspecting the rough opening for rot, termite damage, or out-of-square framing. Any hidden damage found here changes the project scope, which is why a written price before work starts matters. When the opening is clean and sound, the new window goes in.
Step 5: Flash and seal to Pasadena conditions. The flashing sequence matters more here than in drier climates. Pasadena gets most of its rain in a brief winter window, but when it rains hard, water finds every gap. Flashing is lapped so water sheds outward and downhill. The WRB (weather-resistant barrier) is integrated behind the stucco patch.
Step 6: Install, square, and secure. The window is shimmed plumb, level, and square, then anchored per the manufacturer’s schedule. On an impact-rated product, the anchor spacing and embedment depth are tested specifications, not suggestions.
Step 7: Insulate and trim. The gap between the frame and the rough opening is insulated, then the interior trim is reinstalled or replaced. The exterior stucco patch is applied, textured, and cured.
Step 8: Inspection and documentation. The Pasadena inspector signs the final, confirming that the installation matches the permitted scope and the energy compliance. The documentation is filed with the city. The homeowner gets a copy for their records and for their disclosure file when they sell.
That sequence is what a professional installation buys. A DIY installation skips or truncates several of these steps, not out of carelessness, but because the steps are invisible until they have to be answered for.
Common Mistakes to Avoid
- Assuming a handyman can pull the permit. In California, the permit must be pulled by the owner or by a licensed contractor in the relevant classification. A handyman without a contractor’s license cannot legally pull a building permit for a window replacement. If the work is done under your name as owner-builder, you carry the compliance liability.
- Choosing the window before checking SHGC requirements. The best-looking window on the showroom floor may fail Title 24 for a west-facing Pasadena wall. The product must match the energy calculation, not the other way around.
- Ignoring the historic overlay. Pasadena homeowners sometimes discover the Certificate of Appropriateness requirement only after the permit is denied. Check the City’s historic zone map before buying anything.
- Underscoping stucco work. The stucco patch around a new window is not cosmetic. If it isn’t integrated with the existing weather barrier, water gets behind it and the first sign is interior staining months later.
- Treating the warranty as a product-only guarantee. The manufacturer’s warranty is tied to the installation credentials. Read the warranty language before assuming any DIY installation keeps the coverage intact.
- Skipping the disclosure question. If owner-builder work is done on the home, it must be disclosed at resale. That disclosure can affect a buyer’s financing, and it doesn’t expire just because the work looked good for a decade.
- Buying the cheapest window as a placeholder. A low-cost window that meets code on paper still fails in the long run if the frame loses its seal or the hardware wears prematurely under Pasadena’s sun load. Cheap carries its own replacement cycle.
When to Call a Professional
Call a professional when the work touches the building envelope: full window replacement, exterior door replacement, any impact-rated product, or any project in a historic overlay zone. Call when the permit and Title 24 documentation feel unclear, which is most of the time for most homeowners. Call when the warranty language conditions coverage on credentialed installation. And call when the alternative is spending two weekends on a stucco opening that may hide rot or out-of-square framing. Door Installation in Pasadena and window work both fit this pattern: the visible part is simple, the invisible part is where the liability lives. Lightwell Windows Pasadena offers free estimates in Pasadena. Call (626) 628-2308 and a real person answers the phone, not a recording.
Frequently Asked Questions
Yes, a building permit is required for window replacement in Pasadena, with the narrow exception of surface-level work like weatherstripping, re-caulking, or adding an interior storm panel that does not alter the fenestration. The permit includes Title 24 energy documentation. Call (626) 628-2308 if you’re not sure whether your project crosses the permit threshold, and we’ll help you figure it out, free.
Most professional window replacements in Pasadena run between $750 and $1,650 per opening all-in, including the window unit, permit, Title 24 documentation, installation labor, flashing, haul-away, and warranty. Higher-end impact-rated or historically compatible products rise from there. The exact number depends on the opening size, the stucco condition, and the elevation’s SHGC requirements. Call (626) 628-2308 for a written, line-item estimate specific to your home.
Our standing operating rule at Lightwell Windows Pasadena is a written price before any work starts, with no-hassle upfront pricing, every time. If we open a wall and find rot or termite damage that changes the scope, we explain the price difference before touching anything. No invoice surprise at the end of the day. Call (626) 628-2308 and you’ll get the same treatment.
Under California’s owner-builder exemption, a homeowner who lives in the home can pull a permit and perform their own window replacement. The legality comes with conditions: the permit, the Title 24 compliance, the inspection, and the resale disclosure are all on you. If you hire an unlicensed handyman to do the labor under your owner-builder permit, you are no longer within the spirit or the letter of the exemption. For many Pasadena homeowners, the legal exposure isn’t worth the savings.
It depends on the home’s age, the historic overlay status, the elevation’s sun exposure, and the Title 24 SHGC target. Wood matches the character of older Pasadena bungalows, but carries more maintenance in our dry, sunny summers. Vinyl offers strong thermal performance at a lower cost. Fiberglass splits the difference on strength and stability. The right answer comes from the energy calculation and the home’s architecture, not from a single product category.
A typical single-opening window replacement takes one to two working days from start to final inspection, assuming no hidden framing issues are found. A whole-home window replacement of ten to fifteen openings typically runs one to two weeks, including the stucco patches and inspection coordination. Historic overlay review can add several weeks before the work even starts. Call (626) 628-2308 for a realistic timeline on your specific project.
The Bottom Line
The DIY-versus-professional window decision in Pasadena is not about skill. It is about the legal and warranty structure built around the installation, and that structure is stricter here than in most of the country. The owner-builder path is lawful but exposes you to a permit you must stand behind, an energy document you must file, a disclosure you must carry, and a warranty that may not survive the first claim. The narrow band of truly reasonable DIY work is real, and it’s worth knowing. For everything beyond surface maintenance and hardware swaps, the savings are thinner than they look once the permit, rework risk, and long-term energy costs are counted. Explore more guides & resources on protecting your investment. A light well is what brings daylight deep into a building. A well-installed window should do the same for your home, and in Pasadena, that means installed by someone who can stand behind every layer of the process.
Written by Keith Yamada, Owner at Lightwell Windows Pasadena, serving Pasadena since 2010.
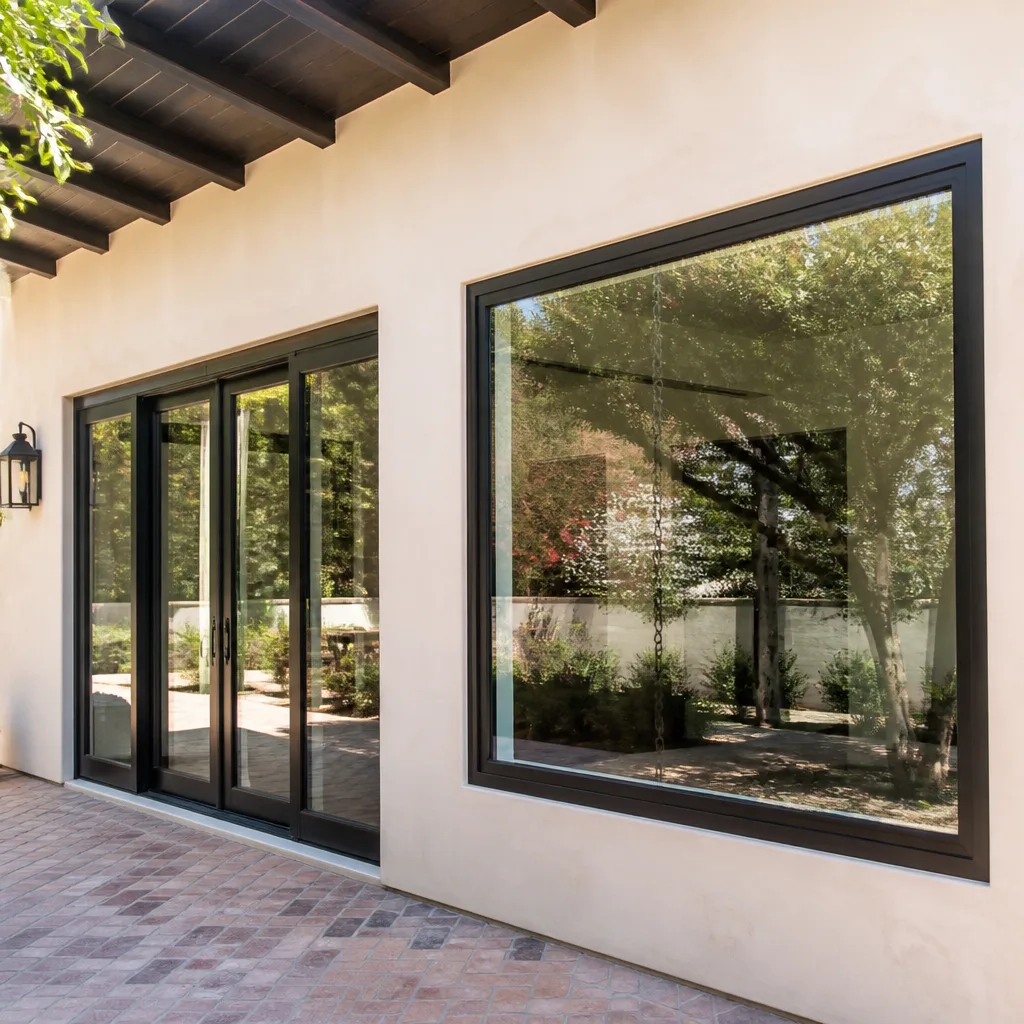
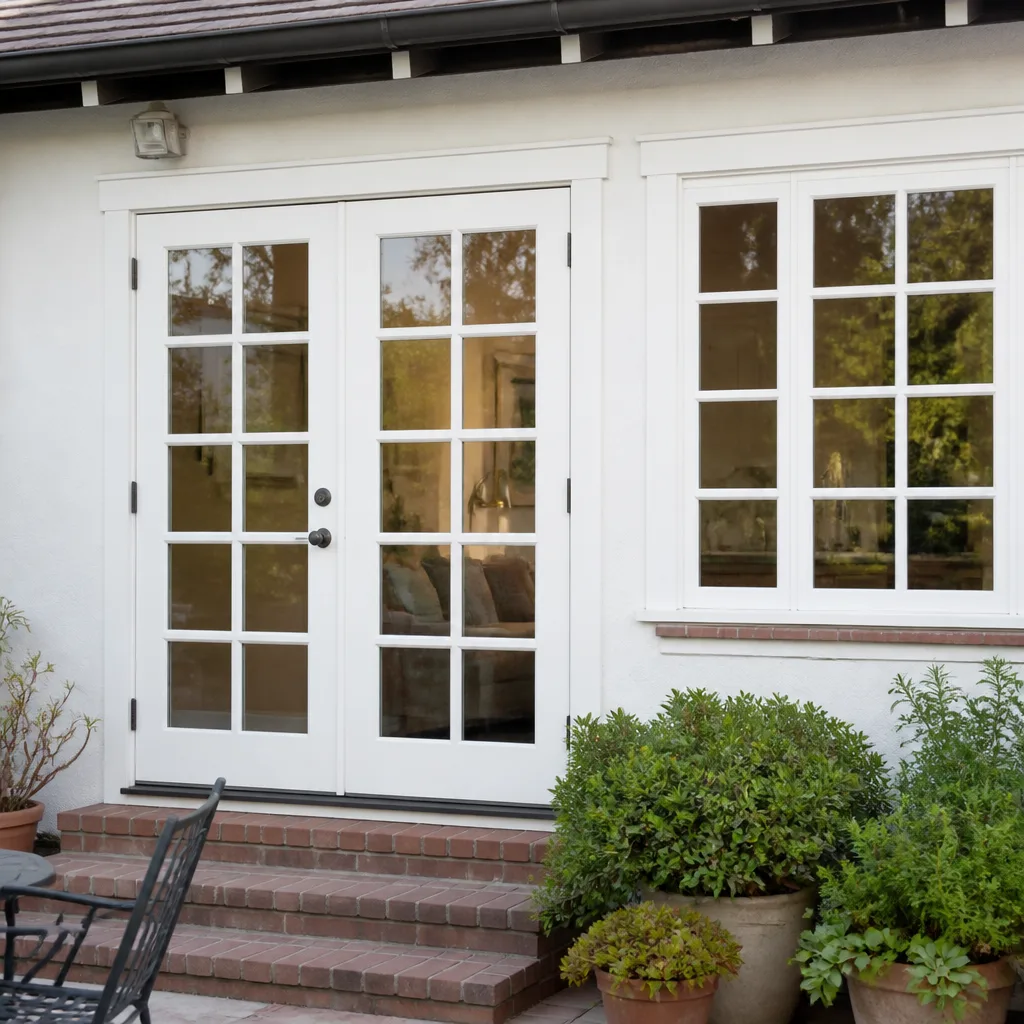
See the difference
 Before
 After
After Before
 After
After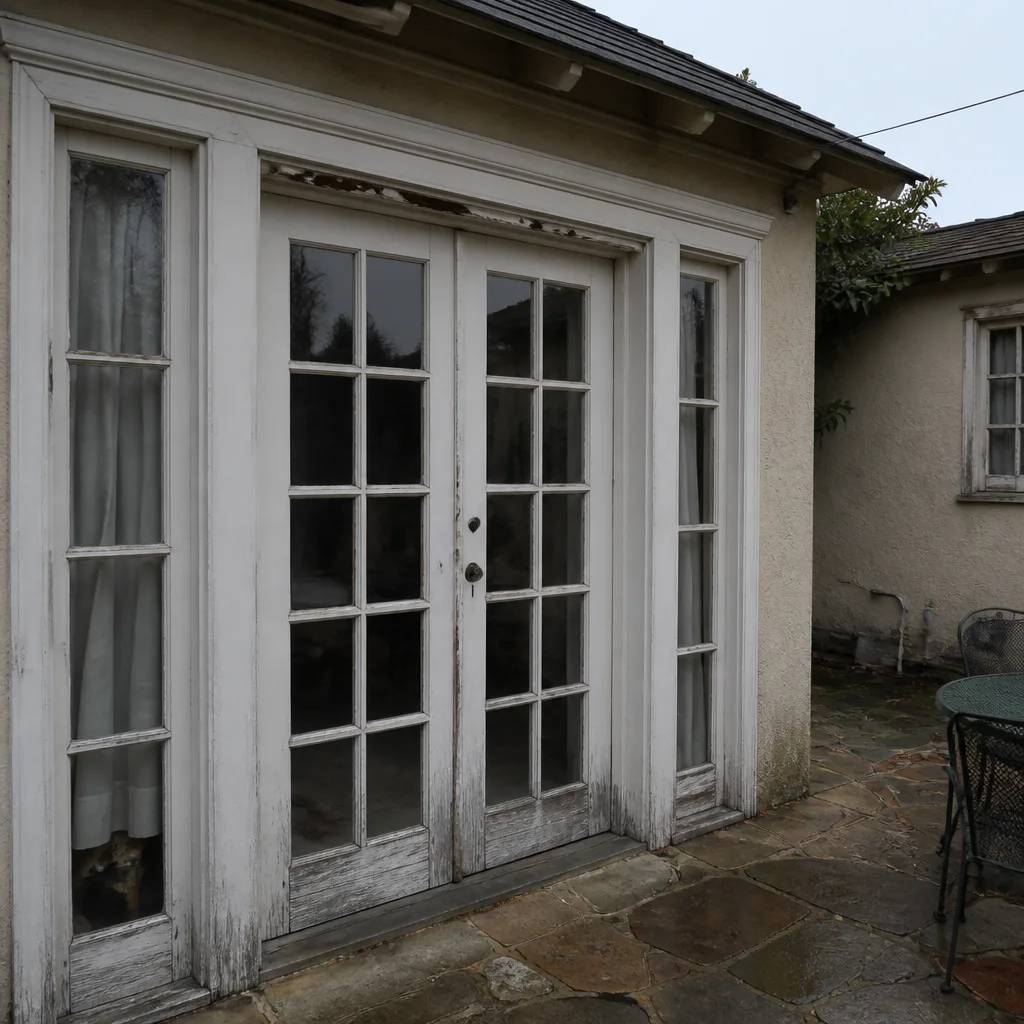 Before
 After
AfterSix Reasons Homeowners Choose Lightwell Windows Pasadena
Laminated glass and reinforced frames hold up to wind-driven rain, hail and flying debris, so your openings stay sealed when the weather turns.
Low-E insulated impact glass from our manufacturer lines commonly cuts monthly cooling bills 20-30%.
Laminated impact glass shuts out up to 40% of outside noise - traffic, neighbors, weather.
Monitoring services run $30-90 a month. Laminated impact glass resists forced entry around the clock, with no subscription.
Tighter seals and insulated glass even out hot and cold rooms and stop the drafts at the frame.
A full impact package upgrades curb appeal, buyer confidence and appraised value in one project.